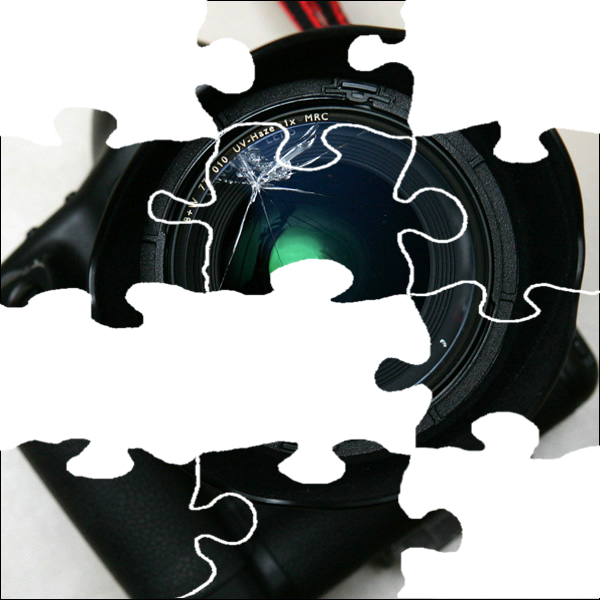
Every camera is a puzzle when it comes in for repair and most notably when it is due to impact damage. Looking at units superficially, what appears to be a real simple and straight forward problem many times turns out being much more complicated. This is a story of a camera repair that was especially deceiving.
Dropped… A digital SLR came in with a 70-300mm lens attached. It fell onto a hard surface resulting in damage to both the camera body and lens unit. My initial inspection suggested that both units had been damaged, but held together well nonetheless. The body, which took the brunt of the impact, clearly needed replacement of some cosmetic parts but didn’t seem terribly severe (considering what it had been through). The lens-mount-assembly was separating from the rear of the lens and would definitely need some serious work. Normally I separate the two units to make a repair and parts requirement assessment for each. I soon realized I had two obstacles to overcome before I could see how much damage there actually was. The first was an issue with the screws on the lens’ lens-mount; they had pulled free and were preventing it from turning. The second problem was with the spring loaded lens release button that controls the lock-pin-mechanism; it had completely jammed up. For those unfamiliar with DSLRs, camera bodies generally have a button that when depressed disengages the lens locking-pin, which locks the lens in place on to the camera, allowing you to twist and remove the lens from the body. However, this button would not depress and the lens would not budge. Using a tool between the body and lens in the spots where it was binding, I was able to get the screws to go back into the lens-mount and disengage the lock-pin there by allowing me to remove the lens.
Now that the lens was removed, the first thing I did was inspect the lens-mount on the camera body. It was apparently in good condition and not bent, as is a common occurrence with impacts like these. This was most likely because the body’s lens-mount is made of metal and the lens’ lens-mount is made of plastic. The lens’ lens-mount was broken and the rear of the lens was damaged where the mount screws had pulled free. This meant the lens needed a new mount and a rear-barrel-assembly to get it in working condition, mildly severe yes but not uncommon. The body however, had a strange issue. The lock-pin moved freely when depressed from the outside but the spring loaded button still would not budge. On some models this assembly is designed so that the button can be removed easily right from the front of the camera. Unfortunately that was not the case on this particular camera; it is constructed from the back. Because of that, it required pulling the mirror-box-assembly out to be able to access the screws that hold the unit together.
I now had the entire camera disassembled and the lock-button-assembly was taken apart. I thought the issue was pretty clear. The button has a spring loaded post that keeps the button aligned in the housing and the spring tension on the pin. There was a broken piece of this post preventing the button from recessing into the housing. I removed the broken post, replaced the button-pin-assembly with a new one and reassembled the housing. I was certain the issue was resolved but when I went to depress the button it still would not budge nor disengage the pin! What was causing this?! Â After disassembling the unit again I did another inspection and realized what was going on. There is a hole that the pin shaft slides along, in on the mirror-box-assembly, that had become damaged and a burr was created inside restricting the movement of the locking-pin. I cleared the obstruction in the hole with very small and precise drill. Upon reassembly this time, the button worked flawlessly! I replaced the bottom cover of the camera and battery-door-assembly which restored it to working order. And as for the lens, I made the repairs I mentioned earlier and it was also restored to good working order.
{ 1 comment… read it below or add one }
Nice writeup!