Buying used lenses is not a bad idea, especially when you want the pro glass but can’t afford the pro price. Unlike digital SLR camera bodies, lenses aren’t replaced with a new version every couple of years. Lenses, especially pro-level lenses, are built to last a long time; in fact, some manufacturers still support the use of manual focus lenses on their DSLRs. An optically sharp lens will remain sharp as long as it’s well taken care of, which means buying used can be just as good as buying new. Of course, whenever you buy used there is always a risk that you’ll inherit problems that the previous owner created from mistreatment. Not to worry, here are five key items to check to make sure the used lens you are thinking about purchasing is in tip top shape.
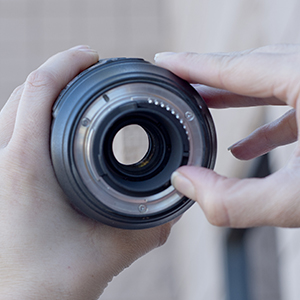
1) Water damage and Fungus – Look thru the lens (detached) in a well lit room; if the lens has an aperture control, open it up all the way. Examine the elements carefully for fungus growth and water spots. Examine metal surfaces for rust and corrosion. (title image)
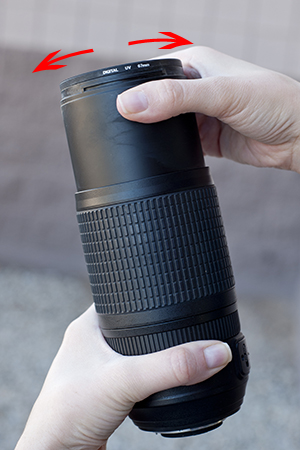 2) Loose Barrels – Wiggle/wobble the lens from side to side and up to down at different points in the zoom range. Minute shifts are normal, but anything moving more than a millimeter should be met with concern. (right image)
3) Functions – Using a known “good†fully compatible camera body, test autofocus (it is helpful to know how other similar lenses perform), aperture/diaphragm, stabilizer (if it has one), zoom, manual focus, and any other switches/buttons on the lens. When checking the zoom and manual focus, it is important to feel for grinding, hiccups, and anything that compromises the overall smoothness of the action. It is best to test the zoom (especially those with a large zoom range) with the front element pointing down because gravity can play a factor in how the zoom feels.(below image)
 4) Element Tilt Issues - For lenses that were made for 35mm SLRs and/or “full-frame†DSLRs, use a known “good†35mm SLR or full-frame DSLR to check for this issue. To perform the inspection, locate a flat surface and focus on it, attempting to be as parallel with the surface as possible. No need to take a photo; just look at the corners of the viewfinder. If there is a tilt issue, the image will be blurry in 1 or 2 corners. Please Note: without a controlled test some variances may not be detectable.
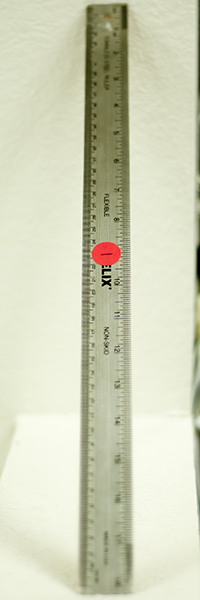 5) Sharpness – There are two tests for sharpness for which you will need a yard stick, a printed resolution test chart (free to download here), a tripod, and the ability to level the camera with lens on the tripod. For these tests the aperture should be set wide open, be sure the stabilizer is turned off, and it is best to use the self-timer/mirror up function if possible. Set up the yard stick at a forty-five degree angle (fold a piece of paper in half at a corner to find an approximate 45 degree angle); take shots at both the wide and telephoto settings at distances that are twenty times the focal distance (example: 20X50mm=1000mm=1meter); focus on the two-foot mark and take pictures. For the next test tape the printed resolution test chart to a flat surface parallel with your leveled camera; take images at wide and telephoto so that the chart takes up the entire image from edge to edge. Examine the first set of shots for front/back focus and examine the second set of shots for sharpness. (right image)
Of course, you could always take it into a repair facility and allow them to evaluate the lens for you quickly, accurately, and generally at a fairly minimal cost.